Revive Your Razor: {Expert Tips} for Sharpening a Straight Razor
A straight razor may be the perfect tool if you’re looking for a close, traditional shave in the UK. But with so many options available, it can be overwhelming to choose the right one. In this guide, we’ll cover everything from selecting the perfect razor to keeping it sharp with a leather honing strop. Plus, we’ll compare the benefits of a straight razor vs. a safety razor.
Why is sharpening a straight razor important?
Sharpening a Japanese kamisori razor is essential for several reasons:
- A dull razor can cause irritation and discomfort during shaving. It can also lead to nicks and cuts, which can be painful and increase the risk of infection.
- A sharp razor provides a closer, smoother shave, which can improve your skin’s overall appearance and feel.
- Regularly sharpening your razor can extend its lifespan, saving you money in the long run.
What are the signs that indicate a straight razor needs sharpening?
There are a few signs that indicate a straight razor needs sharpening:
- If the razor is tugging or pulling at your hair instead of cutting it cleanly, it’s likely time for a sharpening.
- If you see visible nicks or chips in the blade, it’s important to sharpen the razor to prevent further damage.
- If you’ve been using the razor for several weeks without sharpening and noticed a decreased performance, it’s time to give it some attention.
What tools and materials are needed for sharpening a straight razor?
You will need a few essential tools and materials to sharpen a straight razor. First, you will need a sharpening stone or honing stone. This can be a natural stone like a Belgian Coticule or an artificial stone like a Norton water stone. After sharpening, you will also need a leather honing strop to polish the blade. Invest in a razor hone or a razor strop paste to help sharpen. Finally, ensure you have a steady hand and plenty of patience, as sharpening a straight razor can be a delicate and time-consuming process.
A step-by-step guide to sharpening a straight razor like a pro
Sharpening a straight razor can seem daunting, but it can be done like a pro with the right tools and techniques:
- Choose the right straight razor for your needs and skill level.
- Prepare your sharpening stone and leather honing strop.
- Follow a step-by-step process of honing and stropping the blade and maintaining the correct angle and pressure.
You can keep your straight razor sharp and ready for use with practice and patience.

Tips and tricks to maintain a sharp edge on your straight razor
Maintaining a sharp edge on your razor is essential for a clean and comfortable shave. One of the best ways to do this is using a leather honing strop. This tool helps to realign the blade’s edge and remove any burrs or nicks that may have formed during use. Additionally, store your razor correctly, keeping it dry and away from moisture. Finally, regularly clean and oil your razor to prevent rust and corrosion. Following these tips and tricks, you can keep your razor in top condition for years.
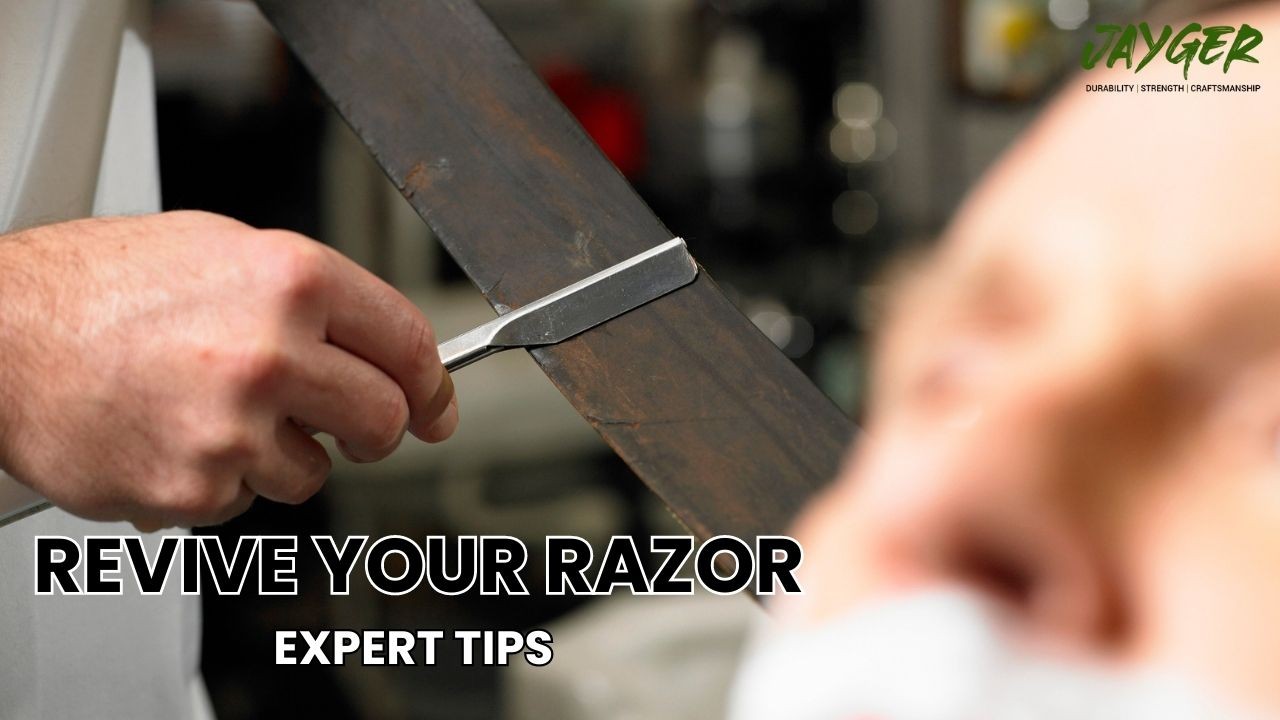
The Different Methods of Sharpening a Straight Razor
Sharpening a razor can be done in several ways. The most common methods are honing and stropping. Honing removes any burrs or nicks from the blade’s edge, while stropping is used to refine and polish the edge.
Honing
Honing a straight razor involves using a sharpening stone to remove imperfections from the blade’s edge. Several types of sharpening stones are available, including synthetic and natural stones. Synthetic stones are typically made of materials like aluminum oxide and silicon carbide and are more affordable than natural stones. Natural stones, like Arkansas and Japanese water stones, are more expensive but are known for their superior sharpening abilities.
Before you begin honing your razor, it’s essential to clean it thoroughly and inspect the blade for any visible damage. To sharpen the razor:
- Start by soaking the sharpening stone in water for at least 10 minutes to ensure it’s fully saturated.
- Place the stone on a flat surface and hold the razor at a 20-degree angle against the stone’s surface.
- Using light pressure, move the blade back and forth across the stone in a circular motion.
- Repeat the process on the other side of the edge, then flip the stone over and repeat the process on the finer side of the stone.
It’s recommended to hone a straight razor every 3-4 months, depending on usage.
Stropping
Stropping a straight razor is the final step in the sharpening process, and it’s essential to achieve a smooth and sharp edge. Stropping involves running the razor blade along a strip of leather or canvas, which helps to remove any remaining burrs or nicks and refine the edge.
Start by attaching the strop to a stationary object, like a table leg, with the leather side facing up to hone your straight razor. Hold the razor at a 20-degree angle against the strop’s surface, then drag the blade towards you, using light pressure. After each pass, flip the razor over and repeat the process on the other side of the edge. It’s recommended to hone your razor before each use to maintain its sharpness.
Understanding the Anatomy of a Straight Razor
Before you start sharpening your straight razor, it’s essential to understand its anatomy. A straight razor consists of several parts, including the blade, the tang, the spine, the edge, and the point. Each piece plays a vital role in achieving the perfect shave.
The Blade
The blade is the most critical part of the straight razor, where the edge is located. The blade is typically made of high-quality steel and ranges from 2 to 3 inches.
The Tang
The tang is the razor part that connects the blade to the handle. It’s essential to grip the tang correctly when using a straight razor to ensure proper control and safety.
The Spine
The spine is the thick part of the razor opposite the edge. It provides stability and helps control the pressure applied during the shave.
The Edge
The edge is the sharpened part of the blade that comes into contact with the skin. Keeping the edge sharp and smooth is essential to achieve a smooth shave.
The Point
The point is the blade’s tip and comes in several shapes, including round, square, and French. The condition of the point can affect the razor’s maneuverability and control during the shave.
Common Mistakes to Avoid When Sharpening a Straight Razor
Sharpening a straight razor requires skill and precision, and there are several common mistakes to avoid to ensure a successful outcome.
Using Too Much Pressure
One of the most common mistakes when honing a straight razor is using too much pressure. Applying excessive force can cause the blade to become damaged and result in an uneven edge. Using light pressure and letting the stone do the work is essential.
Not Using the Correct Angle
Using the correct angle when honing and stropping a straight razor is crucial to achieving a smooth and sharp edge. The ideal pitch is between 15 and 25 degrees, depending on the razor’s manufacturer.
Using the Wrong Sharpening Stone
Using the wrong sharpening stone can also result in a damaged or uneven edge. Choosing a stone appropriate for your razor’s steel type and honing needs is essential.
Not Stropping Before Each Use
Skipping the stropping process before each use can produce a dull and ineffective blade. Stropping helps to refine and polish the edge, creating a smooth and sharp finish.